How to Use vPortal
The actions shown on this page are available to users that have been granted access by their firm.
Before you begin, you might want to see a Sample Support Request.
vPortal Dashboard > From the top menu, select Support.
![]()
Click + Support Request from the left menu.
Enter your contact information, including your phone number.
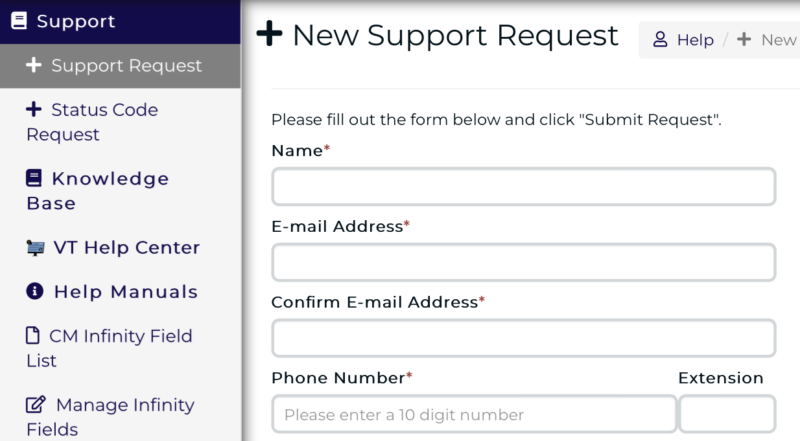
Select the Product and enter the Version (see next section). Based on the Product, choose the Description of issue from the dropdown menu.


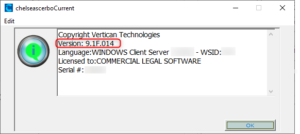
Product Version Information
- For Q-Law or Q-LawE clients, the version will be a date, shown at the top of the screen.

- For Collection Master, find the version on the Main page or click Help > About Collection Master.
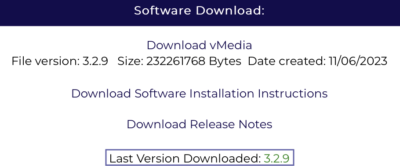
- For vMedia, from the Dashboard > My Vertican > My Products. Next to vMedia, click [View License Details]. On the vMedia Product Info page, see the Last Version Downloaded.
- For vExchange, there is only a single version.
- For vExchange Analytics, the version is at the bottom of the home screen next to the copyright.
Provide information on the point of contact for follow-up (i.e. the user who is experiencing the issue).
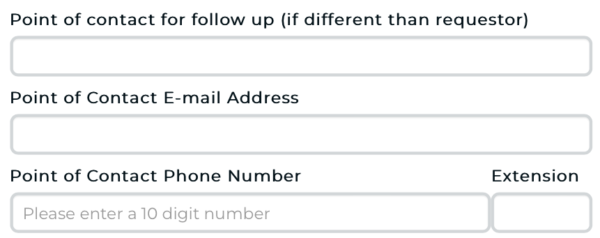
Provide the Tech on site name if you have an IT resource on site to assist with this issue.

Provide a detailed description of your issue and attach documentation.


Click the Submit Request button.

Take these steps to purchase any support incident:
Additional Support Incident, Emergency Support Escalation (Normal Hours), or Weekend/Holiday Emergency Support
vPortal Dashboard > vStore
Select Support Incidents

Select a Product from the drop-down menu.
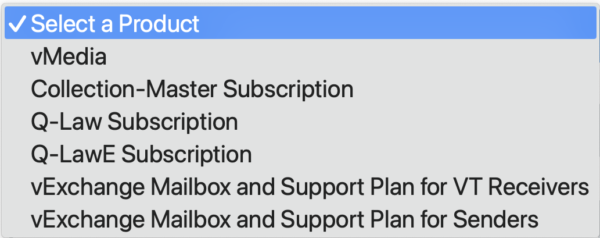
Select the Incident Type.
Pricing Charts have information on incident prices.
Find information on Emergency Support Escalation and Weekend/Holiday Emergency Support.

Read and accept the Terms and Conditions by putting a √ next to I Agree.

Click the [Add to Cart] or [Proceed to Checkout] button.

vPortal Dashboard > My Vertican.
From the left navigation menu, click on My Incidents to view your product(s), as well as Cases Allowed, Cases Logged, and Cases Remaining.

On the My Incidents page, click the gear icon![]() to see the Incident Info page, which shows the incident support dates and status.
to see the Incident Info page, which shows the incident support dates and status.

On the Incident Info page, click the gear icon![]() to see the incident Notes page.
to see the incident Notes page.
vPortal Dashboard > vStore

Choose the applicable product.
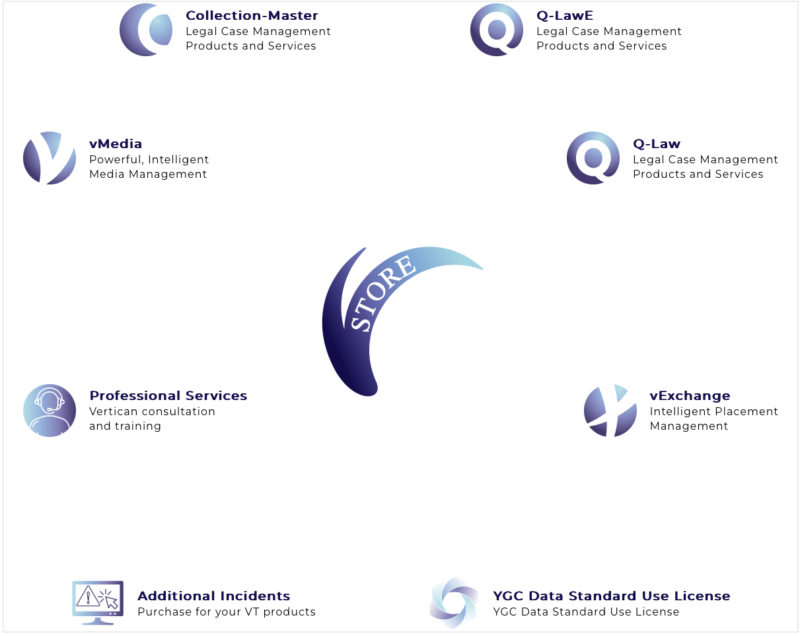
Select the Subscription option for your product.

Under Support Plan, you will see a message like the one below.

You’ve licensed this product through [date]. You may extend the duration of that subscription here. By extending your subscription, you purchase one additional month of licensing as of the date listed above.
No changes you make here will affect your CURRENT subscription – changes will only affect your FUTURE subscription.
On the same page you’ll be able to Select your Support Plan. Click a green “Buy Now” button to upgrade your plan.
Please note:
- There is no option to upgrade a support plan mid-month. Changes to your plan take effect the following month.
- Purchased support upgrades cannot be downgraded for one calendar year.
vPortal Dashboard > vStore

Select Professional Services

Choose Web Based Training or Web Based Consulting and select the number of hours you wish to purchase.
Client Success will be able to give a quote of estimated time for a specific service.

Read and accept the Terms and Conditions by putting a √ next to I Agree.

Answer the optional question.
To help us better prepare, please select the product you will be using the Professional Services for (Optional):
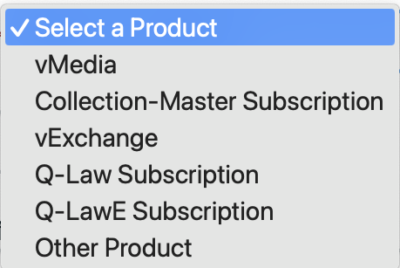
Click the [Add to Cart] or [Proceed to Checkout] button.
![]()
To see what Professional Services you’ve ordered, click on My Vertican from the main Dashboard.
From the left navigation menu, click on My Services to see Hours Purchased, Hours Used, and Hours Remaining.

Hourly Professional Services expire 180 days after purchase.
To see the expiration date for your hourly services, click on the number under Hours Remaining.

vPortal Dashboard > My Vertican

From the left navigation menu, select My SOWs > then Request New SOW. Complete the New SOW Request form.
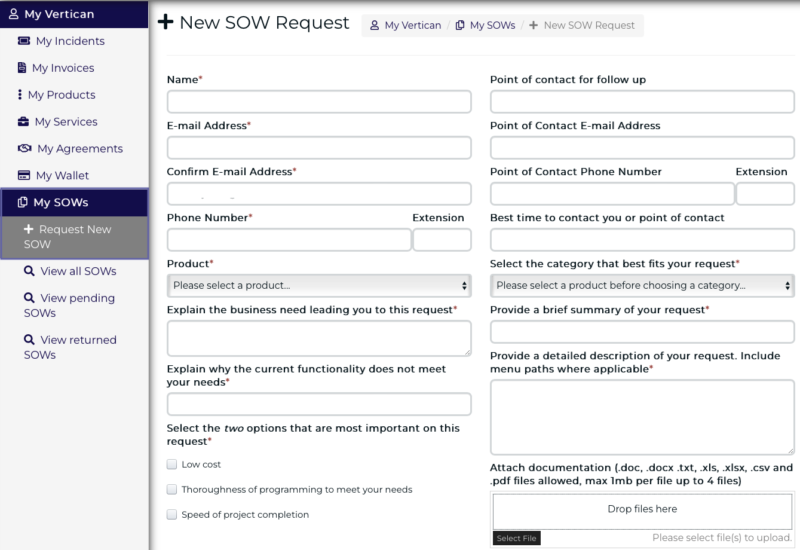
Click the [Submit Request] button.

This is a new self-service feature in vPortal. Previously, only Client Success could update Support Coordinators.
Updating Support Coordinators can only be done by the Administrator for the firm.
From the vPortal Dashboard, go to the VT gear icon in the top menu. Using the dropdown arrow, select Site Management.

You will land on the Client Profile page.

Scroll to the bottom of the page to see Support Coordinators.

Edit the Support Coordinators and press the Save Changes button.

vPortal Dashboard > Manage Users
From the left menu, select Add User. Enter the user’s email address.

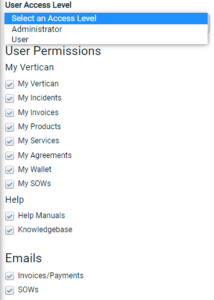
From the User Access Level menu, select either Administrator or User.
- The Administrator has full visibility to all items on the vPortal so Administrator access should be restricted.
- User level permissions can be tailored based on the list below.
